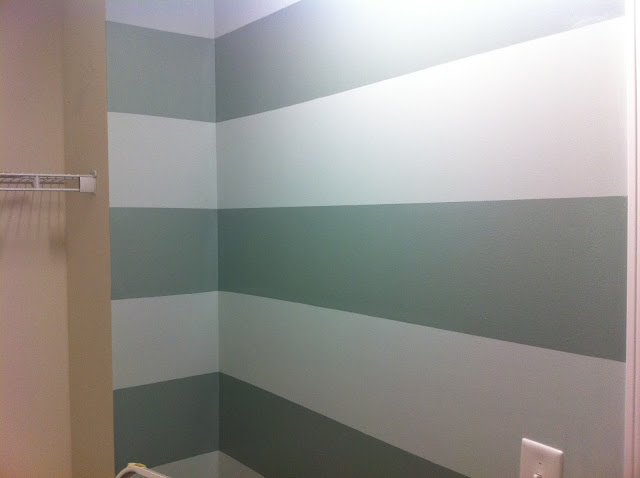
I used two colors that were on the same card- just a few apart from one another (Sherwin Williams Halcion Green and Sherwin Williams Rainwashed).
Design your stripes: How wide do you want them to be? Do you want vertical or horizontal stripes? I found that looking through some photos on Pinterest (if you don't know what Pinterest is, get on that ish! You'll thank me later) was enough to convince me to do horizontal stripes.
Paint the base wall color: First, I painted my entire wall the lighter of the two stripe colors and allowed it to dry fully. If you are keeping the color that you currently have on the wall and simply painting one additional colored stripe on top of it, make sure that you have enough of the original wall color on hand for touch ups.
Measure your space: I measured from floor to ceiling (since my stripes are horizontal) and made sure that the stripe dimensions divided evenly into the full height of the wall. For example, if your wall is 9' tall (108") and you want 9 stripes you could do each stripe 12" wide (or tall) and not have any awkward gaps or left over space at the top or bottom of your wall.
Prep your space: Next, it is time to tape off. I marked several spots with a pencil going across the wall (think dotted line) with a level, so that I was able to apply my tape level. I used blue painters tape and payed close attention to make sure all of the edges were smoothed down to create a clean stripe with no seepage.
(Tip: for a no fail way to seal your edges, especially if you have textured walls, after you tape off your wall, paint the original base color with a roller along all tape edges and let dry before you paint the contrasting color.)
Paint contrasting stripe: I rolled this on at the same angle as the tape and not against it - this helps with seepage. Once finished painting, pull the tape off while paint is still wet. This is the most satisfying step!
Touch ups: If you do have any seepage, don't sweat it! Just use a small brush to paint over the mistakes.
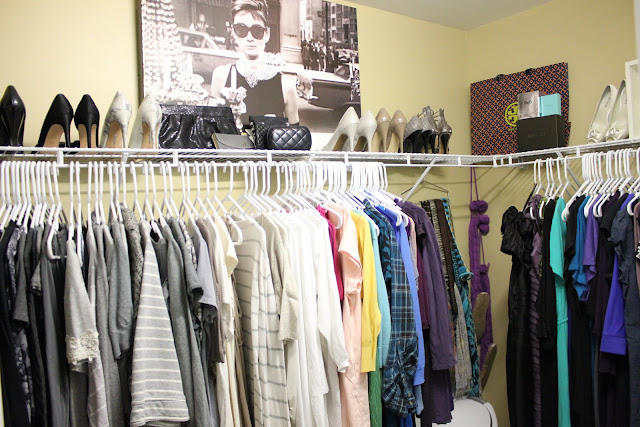
Overall, I am really happy with the finished product and get a little pep in my step each morning when I head in to get dressed.

The "Mrs. Koneman" hanger was a bridal shower gift from my sister-in-law to hang my wedding gown on our wedding day. I hung it above the closet door.


No comments:
Post a Comment